
Limewash cannot handle direct water exposure without a sealer — and even sealed, it’s not the right choice for a shower. Microcement is water-resistant once properly sealed and works on floors, walls, and wet zones. Those two facts alone answer most of the confusion people bring to this comparison. But there’s a lot more nuance worth understanding before you commit to either finish.
What’s the actual difference between microcement and limewash?
Microcement is a cement-based coating — polymer-modified, applied in thin layers over almost any substrate, and sealed to create a hard, continuous, waterproof-adjacent surface. It’s structural in behaviour. Limewash is slaked lime (calce) diluted with water and sometimes pigment, brushed onto walls in translucent layers. It soaks into the surface rather than sitting on top of it. One is a coating. The other is closer to a mineral stain.
The visual results reflect that difference. Microcement reads as smooth, uniform, and modern — similar to polished concrete but far thinner. Limewash is soft, variable, and organic. Every coat shifts slightly, and the result has depth and movement that you can’t replicate with paint. They serve different aesthetic goals and different functional contexts.
Both are considered decorative wall finishes, but they’re not interchangeable — not in application method, not in how they behave on a wall, and not in where you should use them.
Which finish is better for bathrooms and wet areas?
For a shower or any surface with direct water contact, microcement is the right call — full stop. When properly sealed with the correct topcoat (typically two or more coats of a polyurethane or epoxy-based sealer), microcement becomes highly water-resistant and handles the daily abuse of a wet zone. It’s also seamless, which eliminates the grout lines where mould typically takes hold.
Limewash in a bathroom is possible, but only in dry zones: an accent wall behind a vanity, a powder room, a feature wall away from the sink splash zone. Even then, it needs a breathable sealer to protect it from humidity. Unsealed limewash in a humid bathroom will streak, mottle unpredictably, and eventually deteriorate. I always tell people — limewash’s natural breathability is a feature in a bedroom or living room, but in a wet room it becomes a liability if you don’t seal correctly.
If you love the soft, organic look of limewash but need it in a bathroom, marmorino or grassello di calce can give you something in that same warm, mineral aesthetic territory while being far more moisture-tolerant when sealed. Worth asking about as a third option.
How much does microcement cost compared to limewash in Ottawa?
Neither finish is a budget option — both require skilled application, and the material costs are higher than paint or standard drywall finishing. That said, microcement is consistently the more expensive of the two.
Here’s why the gap exists:
– Materials: Microcement systems include a primer coat, base coat, finish coat, and multiple sealer layers — each a separate product. Limewash is a simpler material with fewer system components. – Application complexity: Microcement requires careful substrate prep, timing between coats, and precise sealer application. Mistakes are difficult to reverse. Limewash is more forgiving in application but still requires skill to achieve consistent, intentional variation. – Sealing requirements: Microcement in wet areas needs multiple topcoat layers and periodic resealing over time. That adds to both initial and long-term cost. – Coverage area: Microcement is often used across larger continuous surfaces — floors, walls, countertops in a single seamless pour look. Limewash tends toward accent walls or full rooms but rarely floors.
In Ottawa, as with most Canadian markets, decorative finish pricing is done per consultation rather than published per-square-foot — the substrate condition, room complexity, and finish specification all affect the number. I’d be skeptical of any contractor quoting you a flat rate without seeing the space.
Texture, look, and feel: what each finish actually delivers
Microcement, when cured and sealed, is hard and smooth to the touch — similar to polished concrete but with more warmth depending on the pigment. It can be troweled to different levels of texture, from almost glassy to slightly raked, but it fundamentally reads as a refined, modern material. It photographs as cool, minimal, and architectural. In a spa bathroom or a contemporary kitchen, that quality works beautifully.
Limewash dries to a chalky, cloudy matte with visible variation in colour density — lighter where the wash was applied thin, deeper where it built up. Burnished limewash takes on a slight sheen but never the hardness of a polished plaster. The variation is the point. It looks aged in a good way, like a wall that’s been there for a long time and has something to show for it.
In terms of tactile feel: microcement is solid, almost cold initially. Limewash feels softer, slightly chalky if it’s matte, with a surface that seems to absorb light rather than reflect it. Neither finish is the same as paint. Both have genuine material presence that you notice when you’re in the room.
If you’re going for calm and organic — a bedroom, a meditation space, a living room accent — limewash usually wins. If you want seamless, sleek, and waterproof — bathroom, floor, kitchen backsplash — microcement is the answer.
Which one lasts longer — and what maintenance do they need?
Both finishes are durable when installed correctly and maintained appropriately. But they age differently.
Microcement, once sealed, is hard-wearing and handles daily contact well. In a bathroom or kitchen it will need resealing periodically — how often depends on use and the specific sealer product used, but generally every few years in high-traffic wet zones. If the sealer is maintained, the finish underneath can last decades. If it’s neglected, water can eventually work into the base coat and cause issues.
Limewash is genuinely long-lasting in the right environment. Lime-based finishes have been on walls for centuries — the material itself is mineral and doesn’t break down the way synthetic coatings do. In a dry interior space, limewash with a breathable sealer needs very little maintenance. The main vulnerability is physical impact — it can chip or scuff more easily than a hard surface, and touch-ups, while possible, require matching the original mix.
Quick maintenance comparison:
Microcement — Limewash — | Cleaning — Damp cloth, pH-neutral cleaner — Soft damp cloth, no abrasives — Resealing — Every few years in wet zones — Minimal in dry zones — Touch-up — Difficult to patch invisibly — Easier to blend if you have leftover material — Impact resistance — High — Moderate — Moisture tolerance — High (sealed) — Low-moderate (breathable sealer only)
In my experience, the finish that “lasts longer” is usually the one that was applied correctly the first time and sealed appropriately for its environment. Cutting corners on prep or sealing is where both finishes fail prematurely.
How do I know which finish is right for my space?
Start with function, then move to aesthetics. A few questions that clarify it fast:
Is there direct water contact? If yes — shower walls, bathroom floors, kitchen backsplash near the sink — microcement is the appropriate choice. Limewash isn’t engineered for that.
What’s the design direction? Contemporary, minimal, seamless — microcement. Organic, layered, warm, slightly imperfect — limewash. These aren’t rigid rules, but they reflect how each material naturally presents.
What’s already on the walls? Microcement can go over tile, drywall, concrete, and existing plaster with proper prep. Limewash works best on plaster or drywall but doesn’t bond well to glossy surfaces without prep work. In older Ottawa homes — the Glebe, Sandy Hill, Westboro — you often encounter original plaster walls that are actually excellent substrates for limewash.
How much variation do you want? Limewash inherently has variation baked in. Microcement can be done with variation too, but its default mode is more controlled and uniform. If you saw something on Pinterest and loved the cloudiness and movement of it, that’s probably limewash — or possibly a marmorino finish if it had more polish.
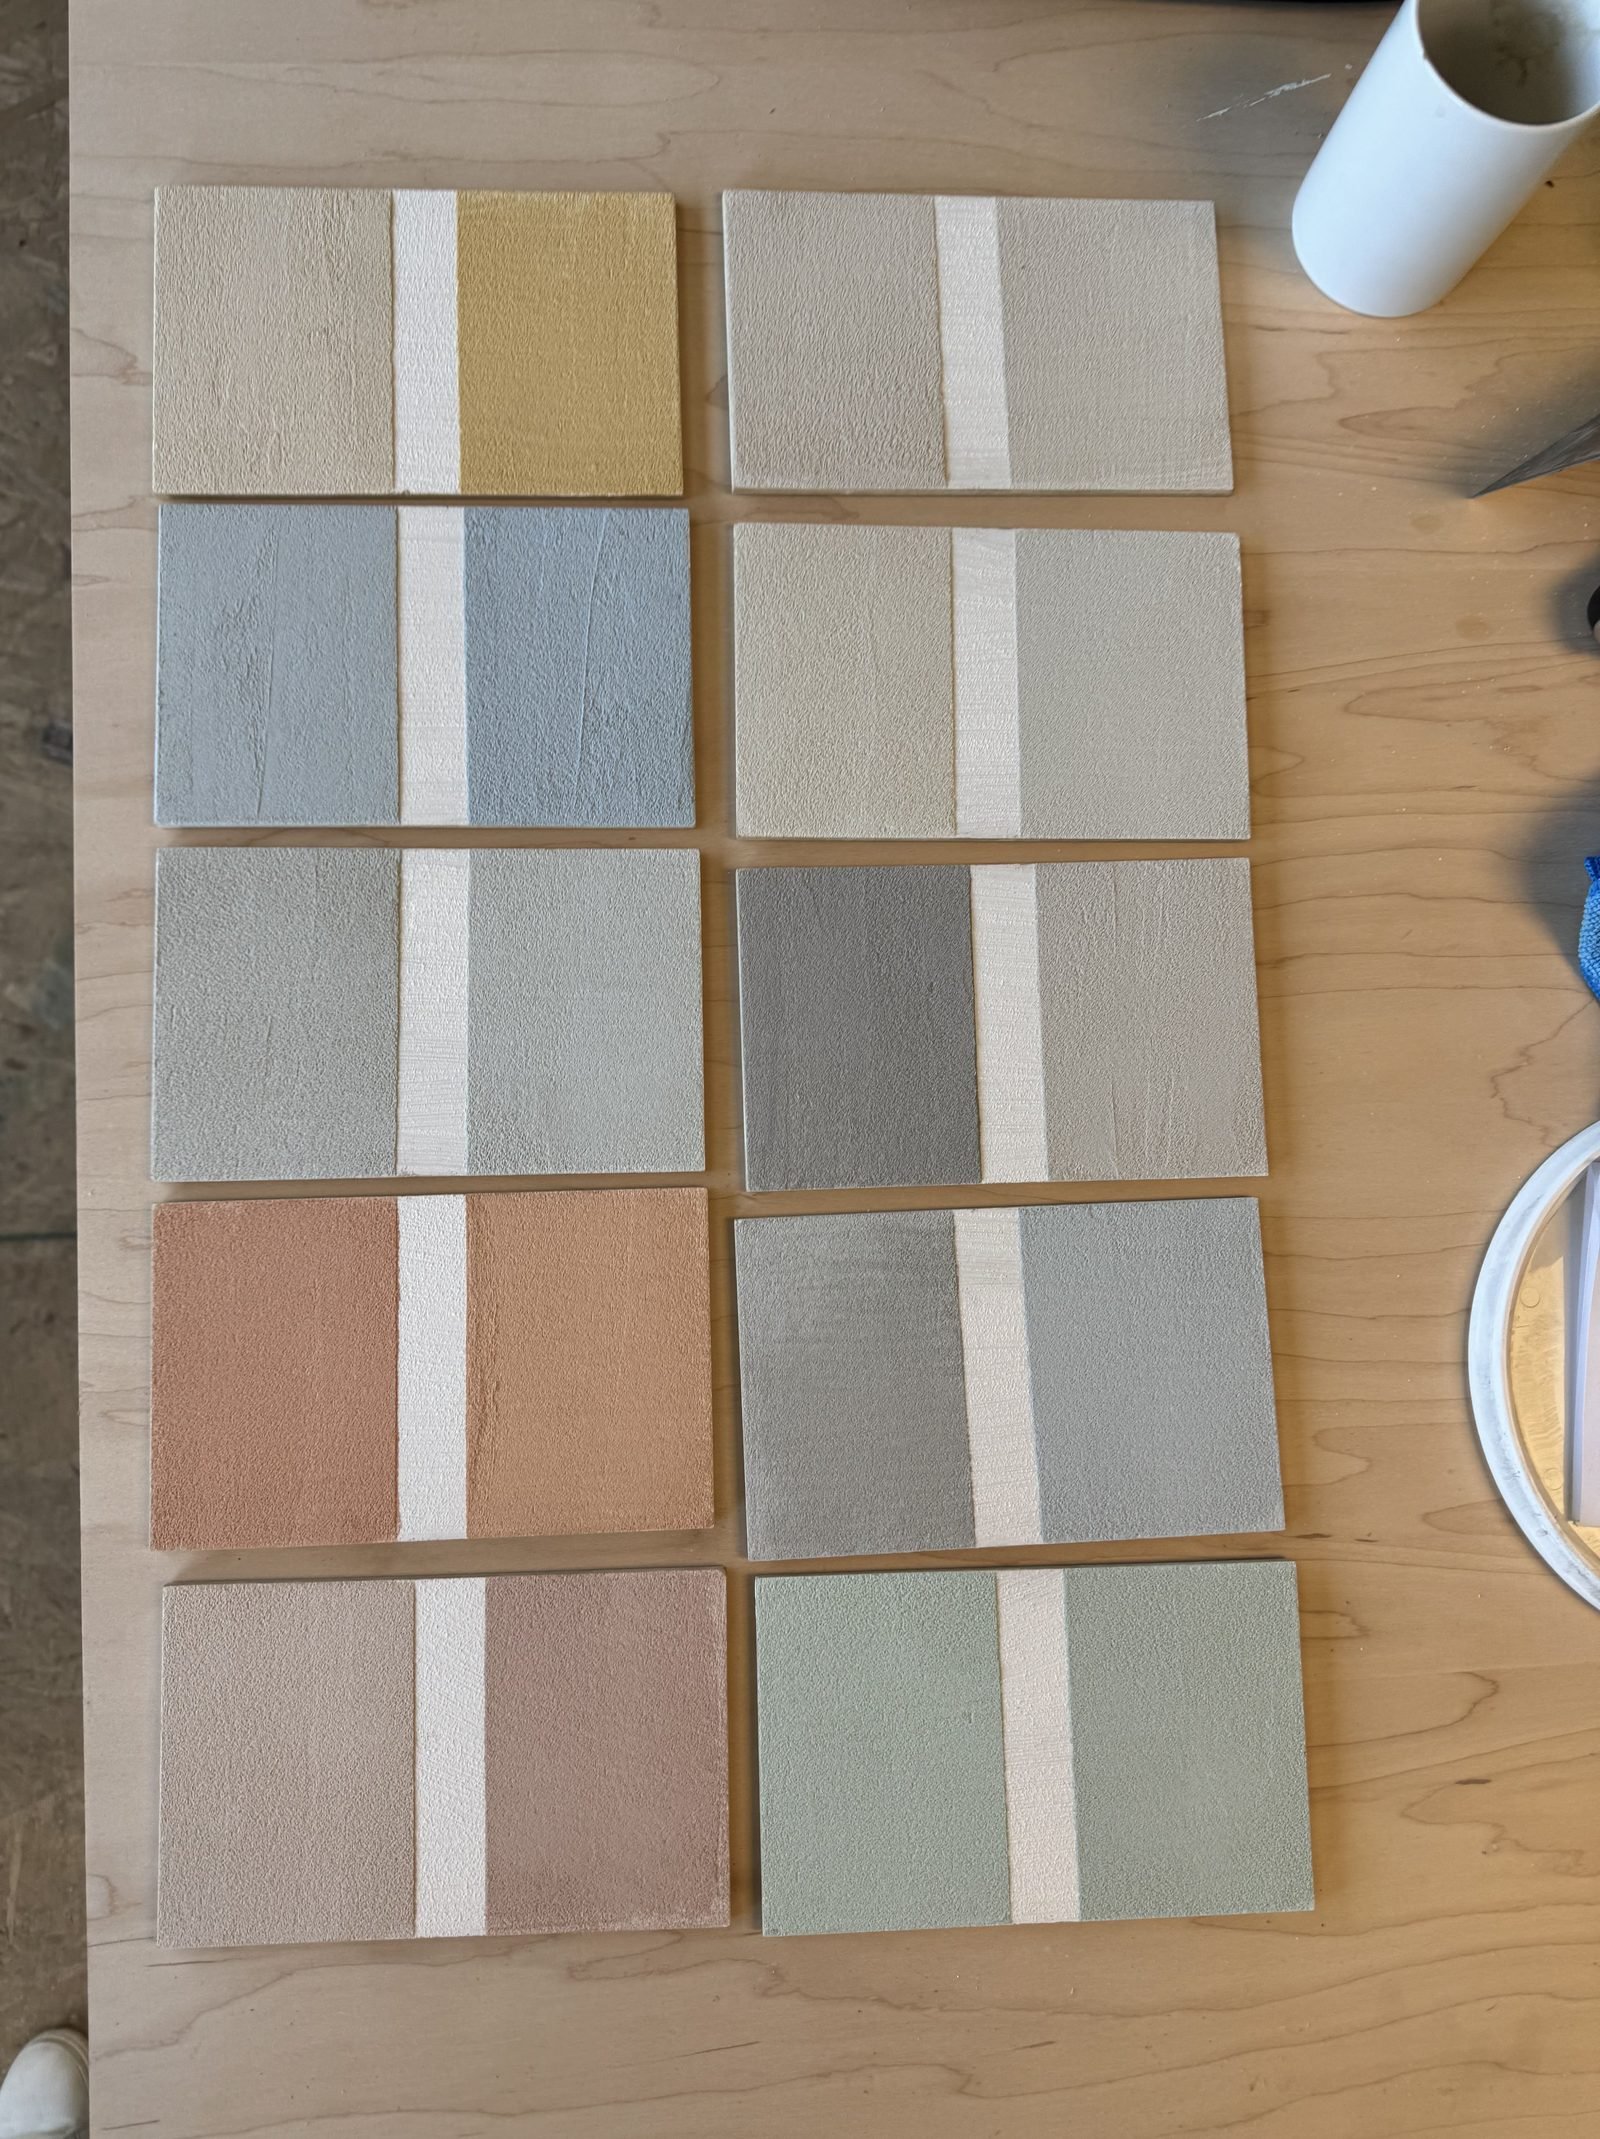
When clients can’t decide between the two, I always recommend seeing physical samples in the actual room before committing. Colours and textures read completely differently on a wall than on a screen or even a small chip card.
Prep checklist before choosing either finish
Good prep is what separates a finish that lasts from one that fails within a year. Here’s what needs to happen before either material goes on the wall:
For both finishes: – • Assess substrate condition — cracks, soft spots, and moisture issues need to be resolved before application – • Ensure the surface is structurally sound and clean (no grease, dust, or loose material) – • Prime appropriately for the substrate type — the primer spec differs between microcement and limewash systems – • Confirm no active moisture intrusion (especially relevant in Ottawa basements or exterior-adjacent walls)
Additional for microcement specifically: – • Confirm substrate flatness — microcement is thin and telegraphs imperfections – • Plan the sealer system in advance, especially for wet zones — the base coat and sealer need to be compatible products – • Allow proper cure time between coats — rushing this is one of the most common failure points
Additional for limewash specifically: – • Confirm the surface is porous enough to absorb the wash — very dense or painted surfaces need scuffing or a bonding primer – • Decide on sealer type early — breathable lime-compatible sealers for dry zones, more protective options for humid environments – • Have extra material mixed from the same batch for future touch-ups
Both finishes reward proper prep disproportionately. I’ve seen microcement fail on walls where the moisture wasn’t properly addressed first, and I’ve seen limewash streak badly because someone applied it over a glossy paint without the right primer. The material isn’t the problem in those cases — the process is.
Figuring out which finish belongs in your space is easier when you’re looking at real samples under your actual lighting. Call me at 613-255-1512 or email Info@designerwallfinishes.com. I’ll bring samples of both finishes — microcement and limewash, plus anything in between — and we’ll look at them in your space together. You bring the inspiration photos. I’ll tell you straight which direction makes sense and why.