
Can Venetian plaster actually look like concrete — and why would you choose it over real concrete or microcement? Yes it can. The same raw, industrial aesthetic, none of concrete’s porosity, weight, or cracking risk. That’s the short version. Here’s everything else you need to know.

What is concrete-look Venetian plaster and how is it different from actual concrete?
Concrete-look Venetian plaster is a hand-applied decorative finish that mimics the colour, texture, and depth of raw or polished concrete — without using any concrete at all. The base materials are lime, marble dust, and mineral pigments. The result is a wall or surface that reads as industrial and raw but is actually smoother, warmer to the touch, and far more controllable than poured concrete.
Real concrete is heavy, porous, prone to cracking, and unpredictable. When you pour or skim concrete onto walls, you’re fighting moisture transmission, hairline cracking as the substrate moves, and an inherent coldness that doesn’t suit most living spaces. Venetian plaster in a concrete palette — think warm greys, cool charcoals, sandy beiges — gives you that same visual weight without any of those structural headaches.
The technical distinction matters too. Actual concrete is a structural or surface material with its own substrate requirements. Concrete-look plaster is a finish. It goes over your existing wall. No structural changes, no weight load, no curing slabs. I always tell people: if you love the look of concrete but you’re finishing a drywall interior in an Ottawa home, plaster is almost always the smarter path.
How does concrete-look plaster compare to microcement — which one should you choose?
Microcement (sometimes called venetian cement or microcemento) and concrete-look Venetian plaster are related but different products, and the choice between them depends on where you’re applying them and what you need the finish to do.
Microcement is a cement-based coating — thin, flexible, and genuinely continuous. It bonds directly to floors, walls, showers, and even existing tiles. It’s your go-to when you need a truly seamless finish across both vertical and horizontal surfaces, especially wet zones and floors under foot traffic. The surface is typically matte to satin, slightly tactile, and very close to the look of polished concrete.
Concrete-look Venetian plaster — marmorino or spatolato in a grey palette — is lime and marble based. It’s more translucent, more variable in depth, and when burnished, it can hold a subtle polish that microcement can’t quite replicate. It’s the right call for feature walls, accent surfaces, and spaces where you want that industrial look with a bit more refinement and warmth.
Here’s how I’d frame the choice:
- Microcement — floors, shower walls, bathroom floors, countertops, anywhere you need true waterproofing and high abrasion resistance
- Concrete-look Venetian plaster — living room feature walls, kitchen splashbacks, commercial interiors, accent walls, anywhere visual depth matters more than underfoot durability
- Both together — entirely possible, and I’ve seen them used on the same project: plaster on the walls, microcement on the floor, completely cohesive
The honest answer: neither is universally better. It comes down to surface, use, and what you’re actually trying to achieve.
Where can you use a concrete-look finish in your home or business?
Almost anywhere, with the right product choice. That’s one of the things that makes this category so versatile.
In residential spaces, concrete-look finishes work particularly well in open-concept kitchens and dining areas, living room feature walls, master bathrooms, and home offices. The industrial palette — greys, charcoals, warm beiges — sits naturally alongside wood, steel, and matte black fixtures. A lot of newer Ottawa builds in Westboro and Kanata are going for that aesthetic, and older homes in the Glebe or Sandy Hill can pull it off beautifully as a contrast to original trim and millwork.
For commercial and hospitality spaces, this finish is a strong performer. Restaurant interiors, hotel lobbies, retail environments, spas — the seamless, texture-rich surface reads as high-end without being fussy. It photographs well, holds up under commercial lighting, and ages gracefully.

A few specific applications worth calling out:
- Fireplace surrounds and chimney breasts — the lime base handles heat well, and the concrete palette is a natural fit
- Kitchen islands and splashback walls — sealed properly, they’re wipe-clean and durable
- Bathroom vanity walls and shower surrounds — microcement variant specifically for wet areas
- Retail feature walls and reception desks — high visual impact, relatively fast installation compared to real stone or cladding
Is concrete-look Venetian plaster durable enough for floors and bathrooms?
For walls — yes, without reservation. Properly applied and sealed, concrete-look Venetian plaster is harder than drywall compound, more impact-resistant than standard paint, and genuinely long-lasting. The lime matrix carbonates over time, meaning it actually gets harder as it ages. That’s the same chemistry that keeps centuries-old lime plaster in good condition.
For floors — this is where product selection matters. Standard Venetian plaster (marmorino, grassello di calce) is not a floor product. For floors, microcement is the correct system. It’s formulated for abrasion resistance, flexibility, and foot traffic. Trying to use a wall plaster on a floor is a shortcut that fails fast.
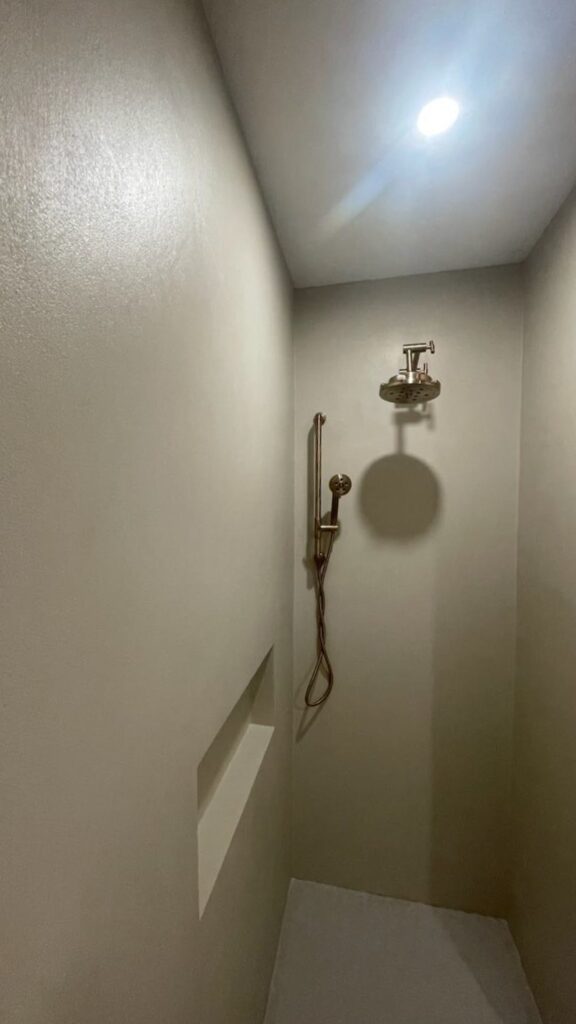
For bathrooms, the answer is conditional. In a dry bathroom — vanity wall, feature wall behind a freestanding tub — sealed Venetian plaster performs very well. In a wet zone like a shower enclosure, you need microcement with proper waterproofing beneath it, not lime plaster. The moisture management is different, and the sealing system needs to match.
Ottawa’s climate is worth factoring in. We get cold winters, humidity swings, and older homes with varying moisture levels. I always recommend assessing substrate moisture before any application. Lime-based plasters are breathable, which is actually an advantage in older Ottawa homes — they don’t trap moisture the way some synthetic coatings do — but the substrate still needs to be stable and properly prepared.
The application process: how a concrete-look finish actually gets made
This isn’t a one-coat product. That’s the first thing to understand. The depth and subtlety of a concrete-look finish comes from building up thin layers, each one contributing to the overall tone and texture.
The process, in order:
1. Consultation and colour development. Grey is not one colour. Concrete-look finishes range from warm sand-grey to cool blue-charcoal to deep anthracite. Getting the right tone for your lighting and space requires sampling on-site, not just picking from a card.
2. Surface preparation. The substrate has to be sound, clean, and primed correctly. Any movement, cracking, or contamination in the substrate will telegraph through the finish. This step is not optional and it’s not fast.
3. Base coat application. First layers go on with a steel trowel at a thin, consistent thickness. These establish the foundation colour and start building adhesion.
4. Build coats. Additional layers are applied and manipulated while partially set to create the texture variation — the slight aggregate impression, the tonal shift from highlight to shadow — that makes concrete-look plaster read as the real thing. This is the skill-intensive part. Timing matters.
5. Burnishing. For polished or satin finishes, the surface is worked with a clean steel trowel under pressure. This compresses the surface, brings out a subtle sheen, and locks in the texture. For a matte concrete look, burnishing is lighter or skipped.
6. Sealing. The finish coat — wax, natural oil, or penetrating sealer depending on the application — locks in the colour, adds water resistance, and determines the final sheen level.
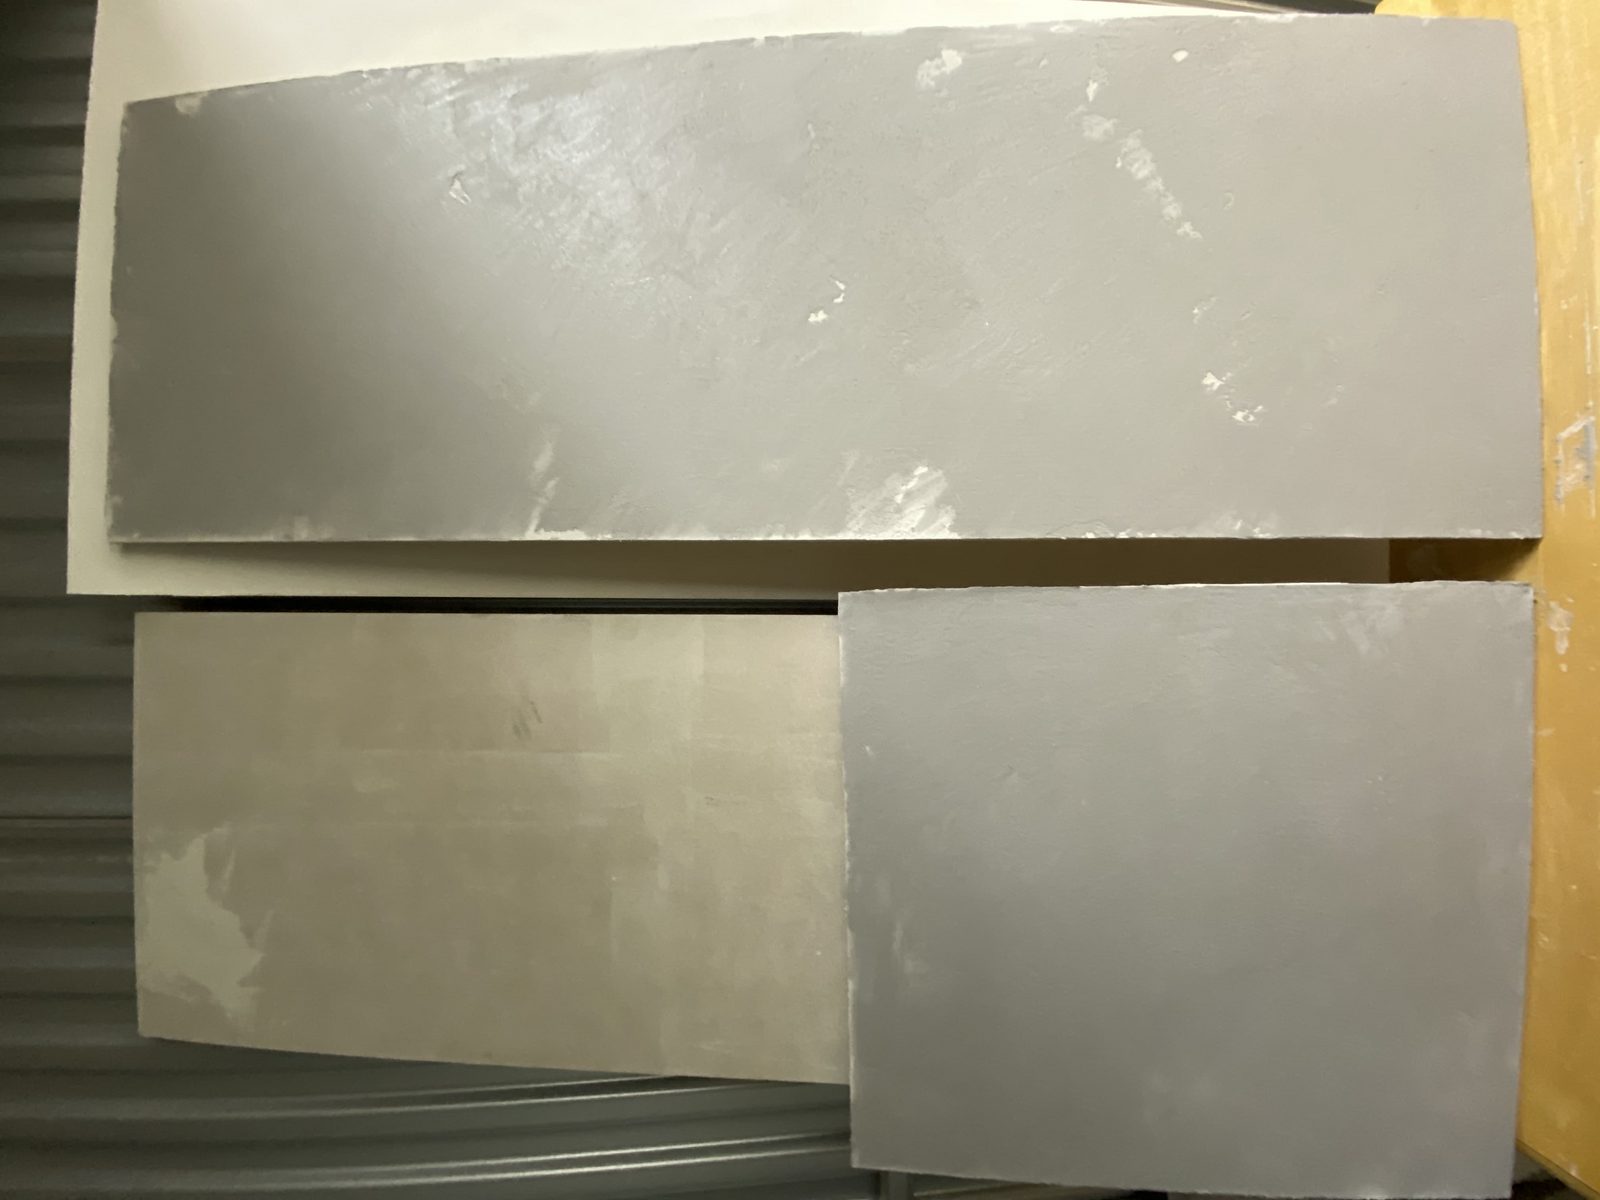
Microcement has a parallel process but uses different materials at each stage — a primer system, flexibility-enhancing resins, and a polyurethane or epoxy topcoat rather than wax. Both require professional application. These are not forgiving materials if you rush them.
How much does concrete-look Venetian plaster cost in Ottawa?
I’ll be straight with you: there’s no single per-square-foot number I can give you that’s honest. The cost varies based on surface condition, the specific product system, the number of coats required, the complexity of the space, and what prep work is needed before application even starts.
What I can tell you is that this is a premium artisan finish. It’s not priced like paint. It’s not priced like drywall mud. You’re paying for skilled hand application, quality Italian materials, and a finish that — done right — lasts decades and never needs repainting.
The variables that move the number significantly:
- Substrate condition (new drywall vs. old plaster vs. existing tile)
- Surface area and ceiling height
- Number of coats and finish complexity
- Whether prep work like patching, priming, or crack repair is needed
- Product choice (microcement systems generally cost more than lime plaster per square foot due to material cost)
The most honest thing I can tell you is to get a proper consultation. Bring photos, measurements, and an idea of what finish you’re after. I’ll bring samples. That conversation will give you a real number for your actual project, not a guess built on averages.
Prep checklist before installing a concrete-look decorative finish
Good prep is what separates a finish that lasts twenty years from one that starts failing in two. This is true for any decorative plaster system, but it’s especially true for microcement and concrete-look finishes because the thin, seamless nature of the material means any substrate problem shows up fast.
Before any application starts, here’s what needs to be addressed:
- Substrate assessment — Is the existing surface sound? Any cracking, flaking, delamination, or hollow spots need to be repaired first. This includes old paint that isn’t fully bonded.
- Moisture check — Especially relevant in Ottawa basements, older homes, and bathroom applications. Elevated moisture in the substrate will push through and cause adhesion failure. This needs to be measured, not assumed.
- Priming — The correct primer system depends on the substrate. Drywall, concrete, tile, and existing plaster all require different primers. Getting this wrong undermines everything above it.
- Crack treatment — Existing cracks, particularly at corners, joints, and around windows, need to be treated with mesh tape and appropriate filler before plaster goes on. Otherwise they telegraph through.
- Surface cleanliness — Oil, grease, dust, or silicone contamination will prevent adhesion. Kitchens and bathrooms especially need proper cleaning before prep begins.
- Temperature and humidity — Application temperature should be above 10°C, and humidity should be moderate. Ottawa winters mean climate-controlled interiors; summer humidity spikes can affect open-time on the material.
- Protection of adjacent surfaces — Floors, trim, and fixtures need proper masking. Plaster and microcement are not easy to remove from finished surfaces once set.
None of this is complicated, but all of it matters. I’d rather spend an extra half-day on prep than have to pull a finished surface because the substrate wasn’t ready.
Ready to see what a concrete-look finish actually looks like on your walls? Call me at 613-255-1512 or email Info@designerwallfinishes.com. Bring your inspiration photos, your paint samples, whatever you’ve been collecting. I’ll bring the actual material samples — real swatches you can hold up against your lighting, your floors, your fixtures. That’s the only way to make a decision like this properly.